Media planning
Create a new placement
Add a placement with channel, objective, format, vendor, flight dates, budget, notes, and monthly allocations.
A placement is one planned media line item inside a media plan. Choose its taxonomy carefully because the channel, objective, format, and vendor affect how the placement can be filtered, reported, governed, and reconciled later.
Note: New placements can only be added when the media plan is in an editable workflow stage.
Create the placement
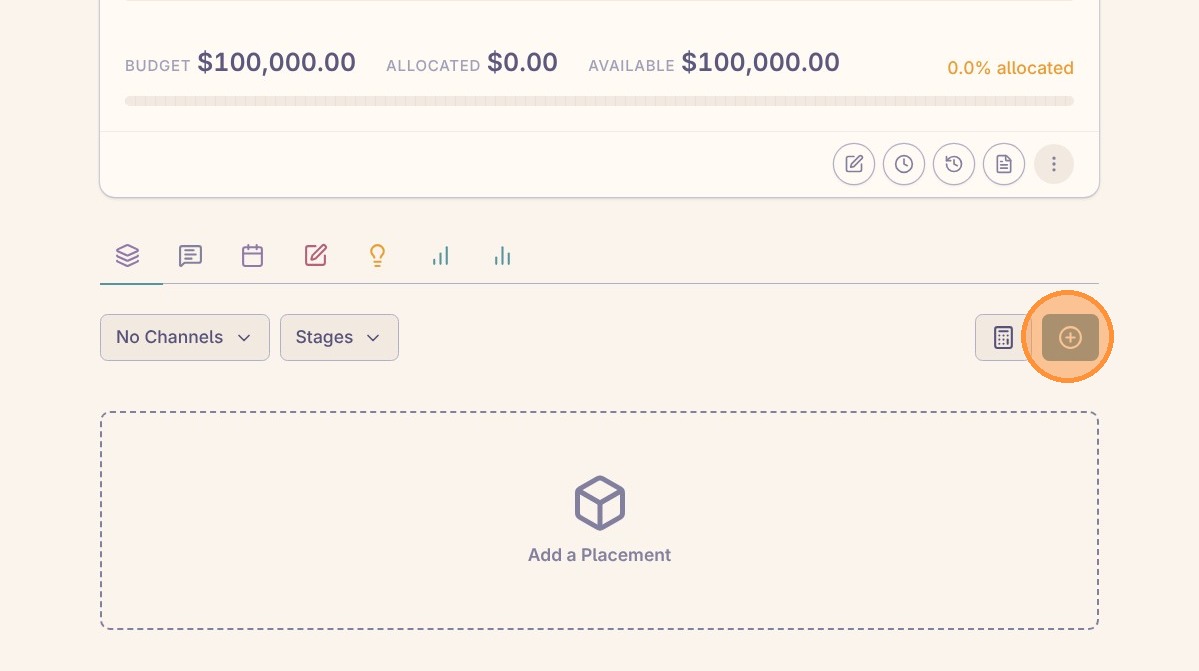
Navigate to the media plan and click the create placement button.
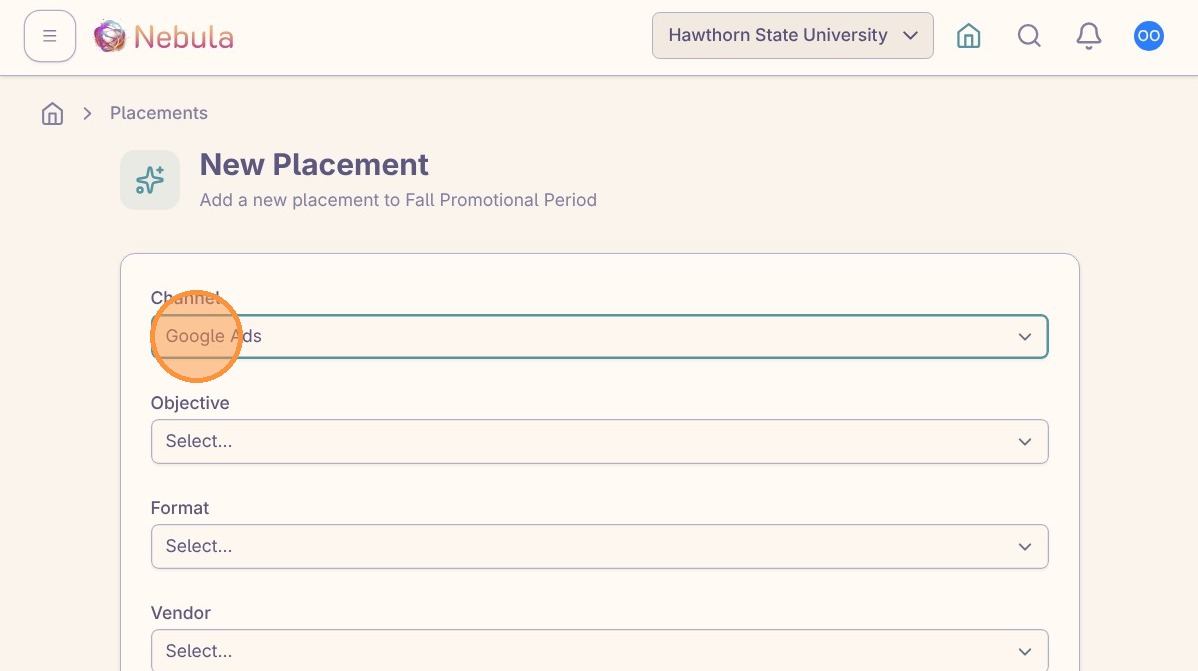
Select the channel. This is the media environment where the placement will run, such as Paid Search, Paid Social, CTV, programmatic display, or a platform name if your workspace models channels that way.
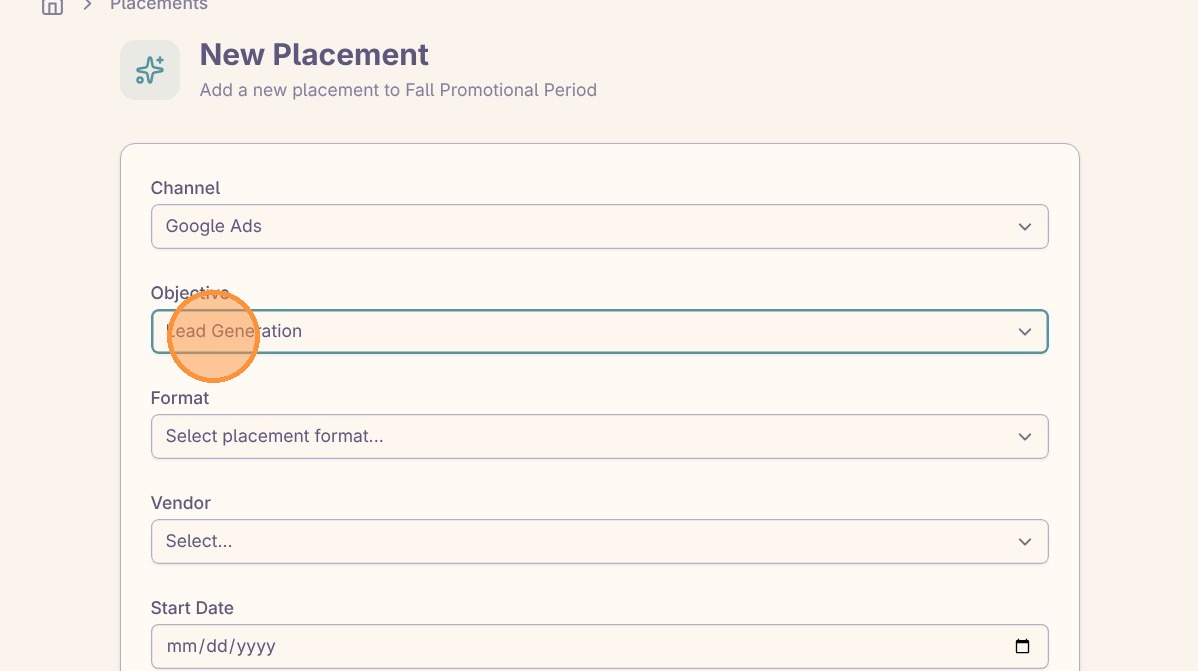
Select the objective. This is the outcome the placement is meant to support, such as awareness, lead generation, traffic, sales, or engagement.
Select the format. This describes the media or creative unit being planned, such as video, static image, paid search, carousel, or CTV.
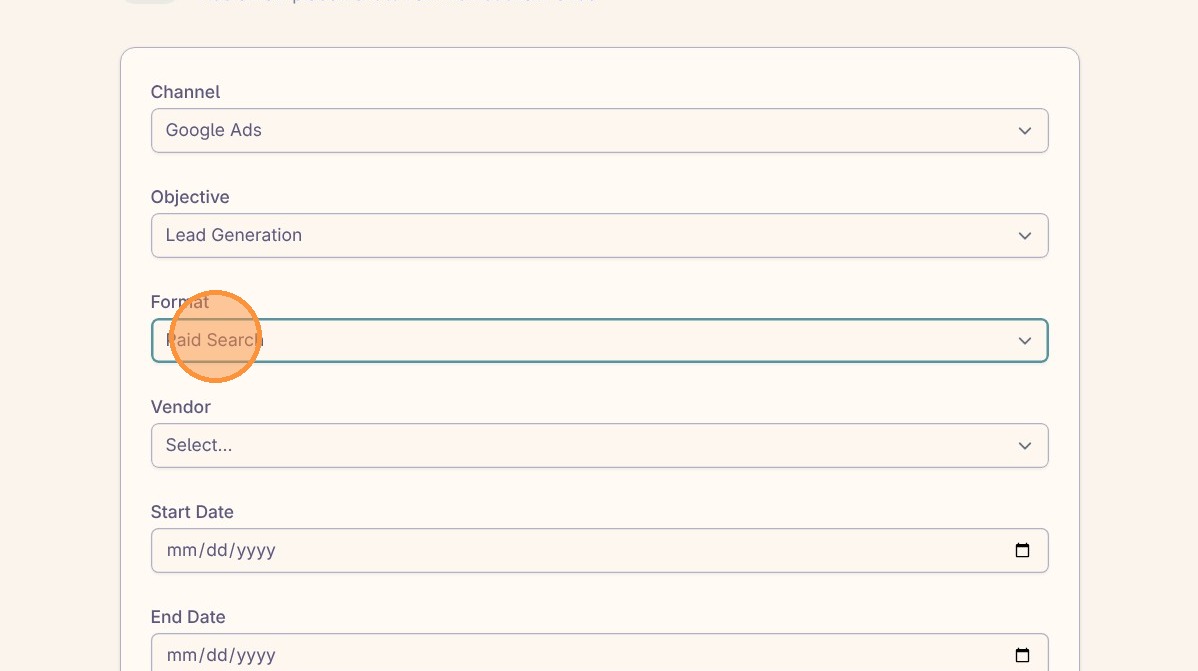
Select the vendor. This is the platform, publisher, partner, or supplier responsible for the spend or invoice.
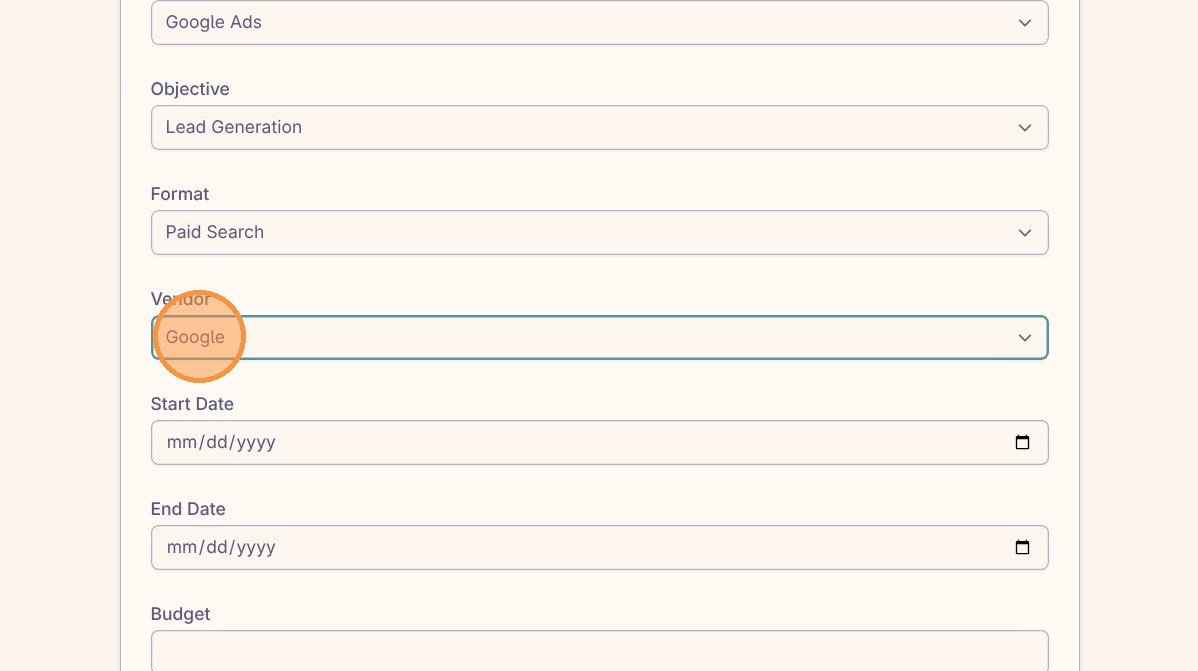
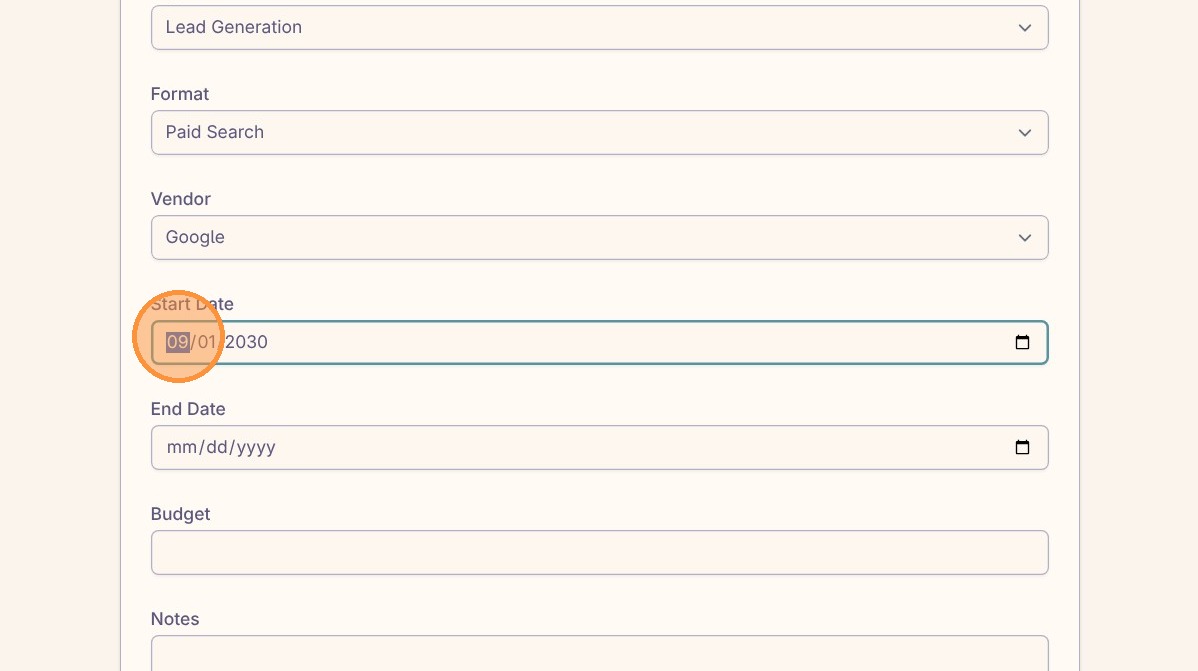
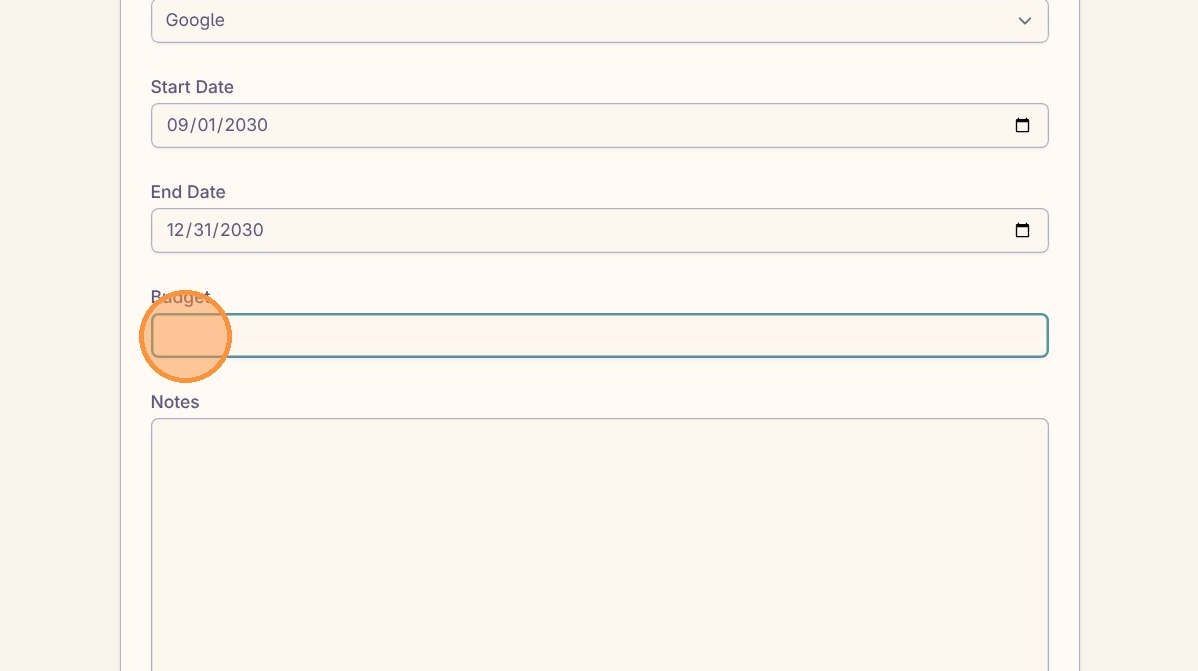
Set the start date for when the placement should begin running.
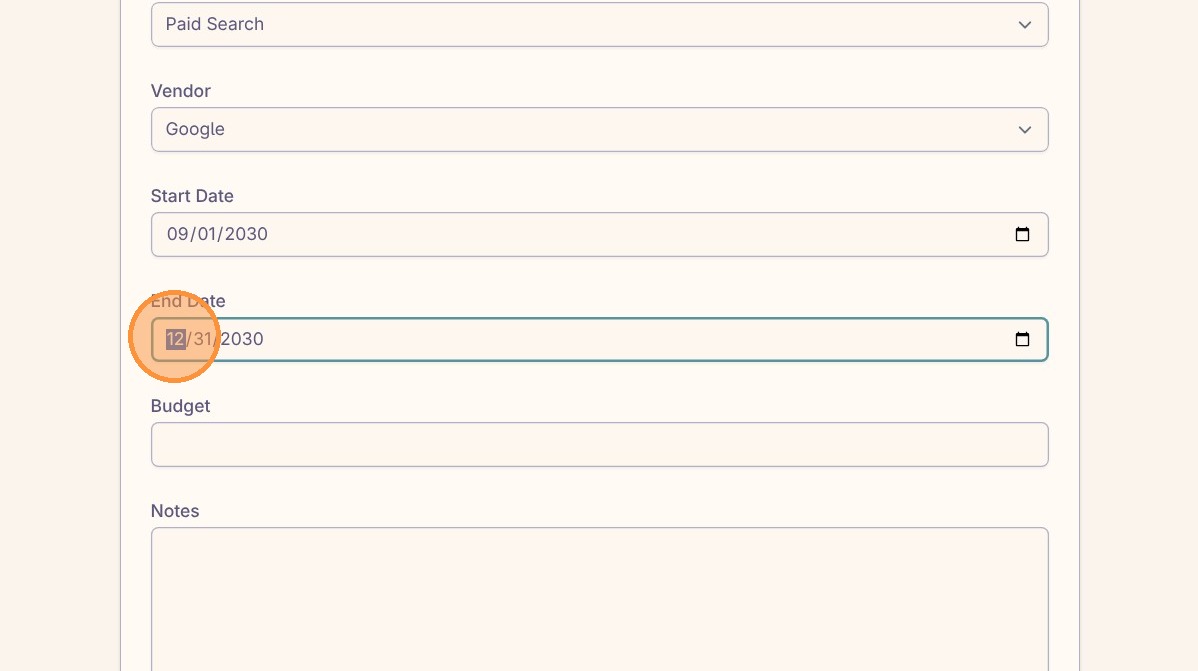
Set the end date for when the placement should stop running.
Enter the total budget the placement should spend from start to finish.
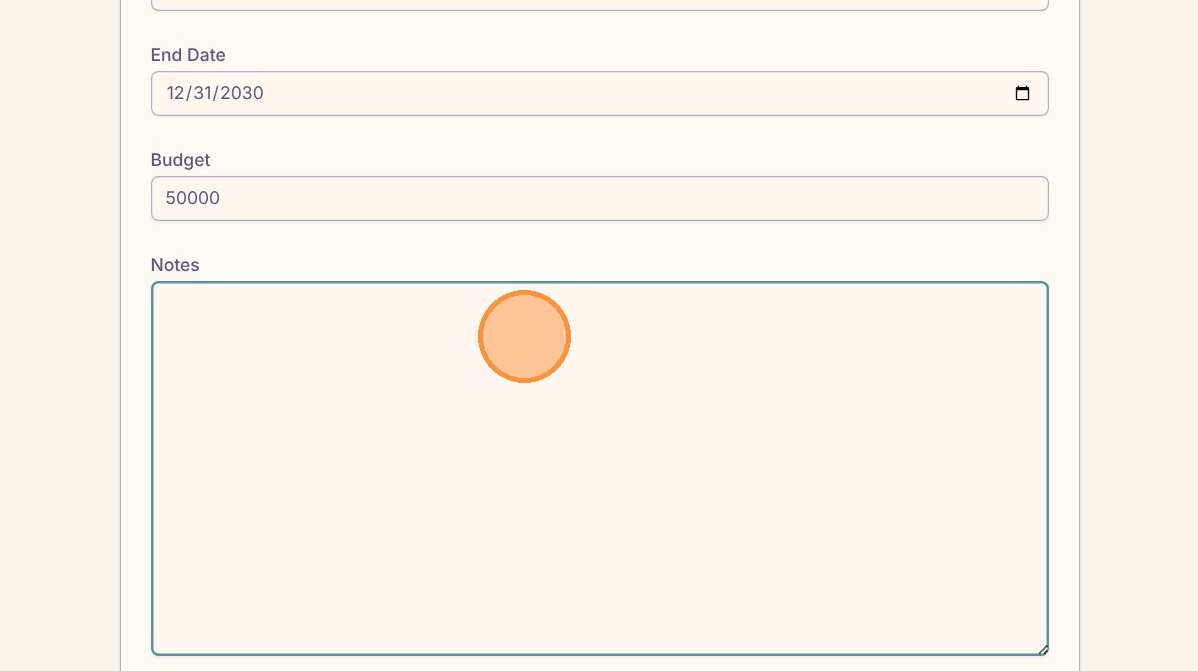
Add notes when the placement needs context for review, approvals, vendor details, or setup assumptions.
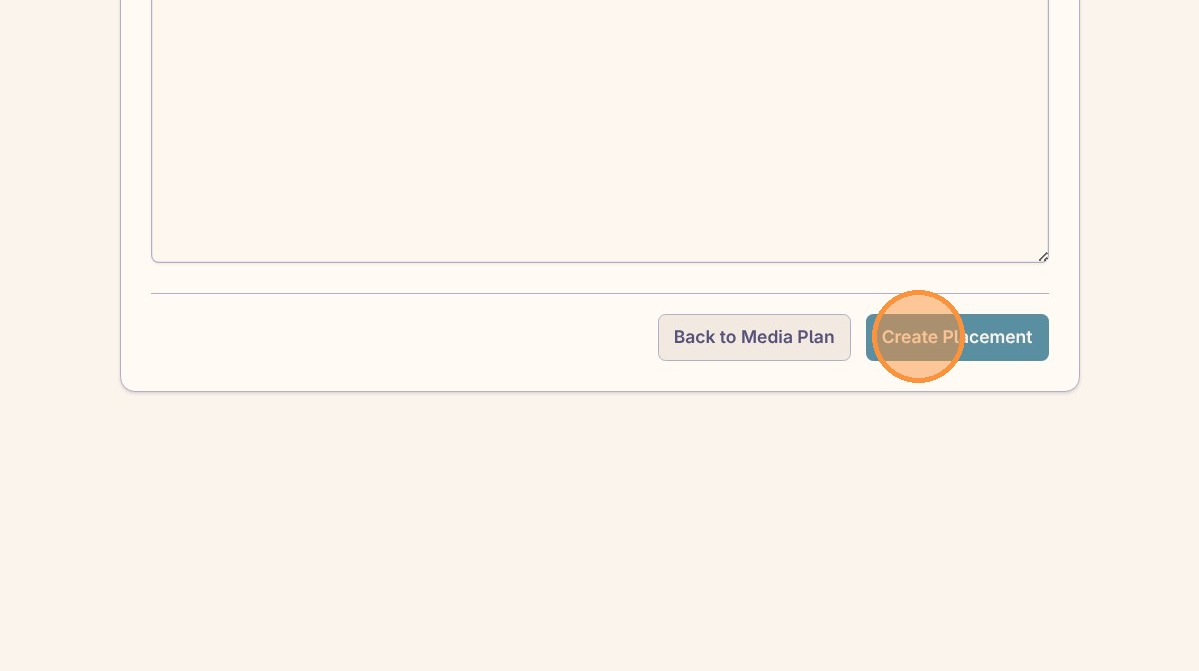
Click “Create Placement” when the placement details are ready.
The placement is now part of the media plan.
Add monthly allocations

For each monthly allocation, click into the Gross field and enter the total target budget that the campaign should spend, including fees, for that month.
When fees apply, enter the planned monthly budget in the Gross field and let Nebula calculate the Net amount for you. This reduces manual math errors because Gross minus Fees = Net.
- The Net field does not include fees. Use this number when setting campaign budgets in the ad platform.
- The Gross field includes fees. This is usually the budget number your team starts with during planning.
Note: If the placement has no fees, Gross and Net will be the same amount.

As you fill in allocations, Nebula shows how much of the placement budget has been assigned and how much remains.
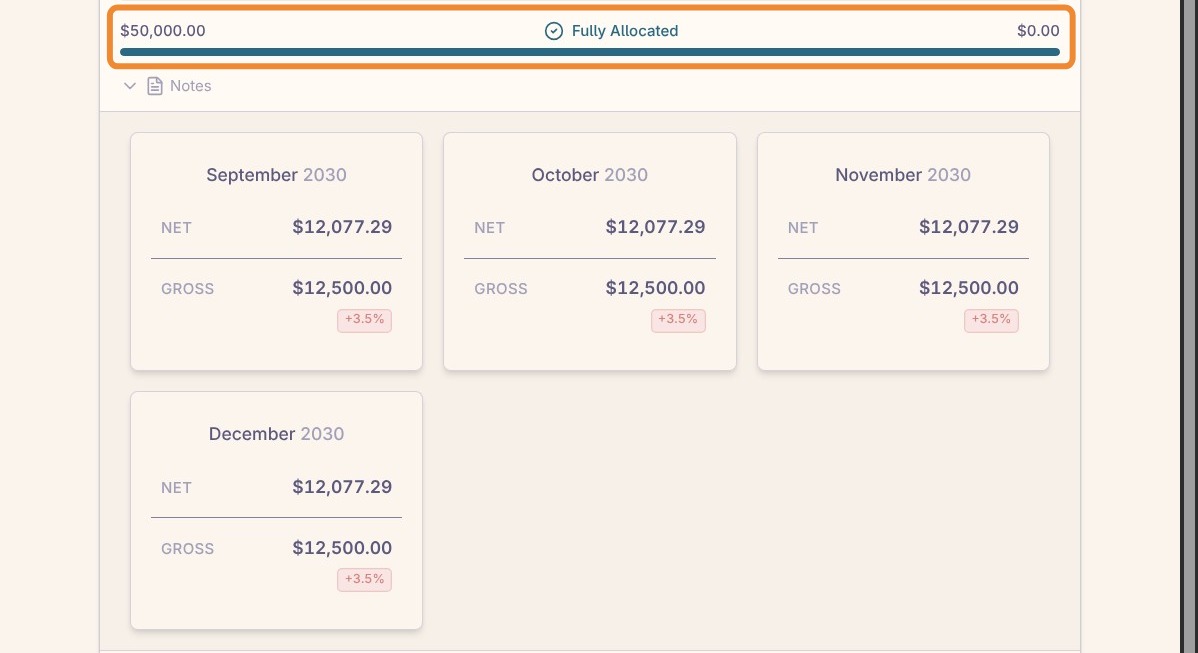
Review and edit placement details
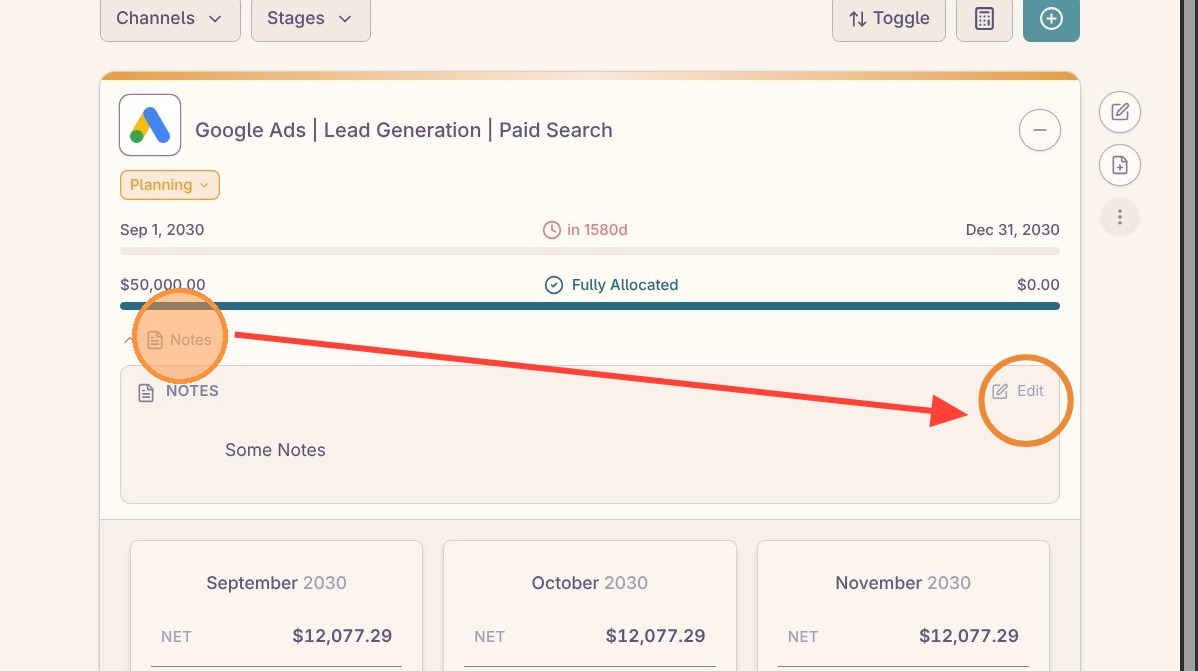
Click “Notes” to expand the placement notes when you need to review the context attached to the placement.
Note: If the media plan is in an editable workflow stage, Nebula will also show the edit controls for fields that can still be changed.

To edit the start date, click the date field. Nebula will open it for editing if the media plan is in an editable workflow stage.

To edit the end date, click the date field. Nebula will open it for editing if the media plan is in an editable workflow stage.
To edit the budget, click the budget field. Nebula will open it for editing if the media plan is in an editable workflow stage.
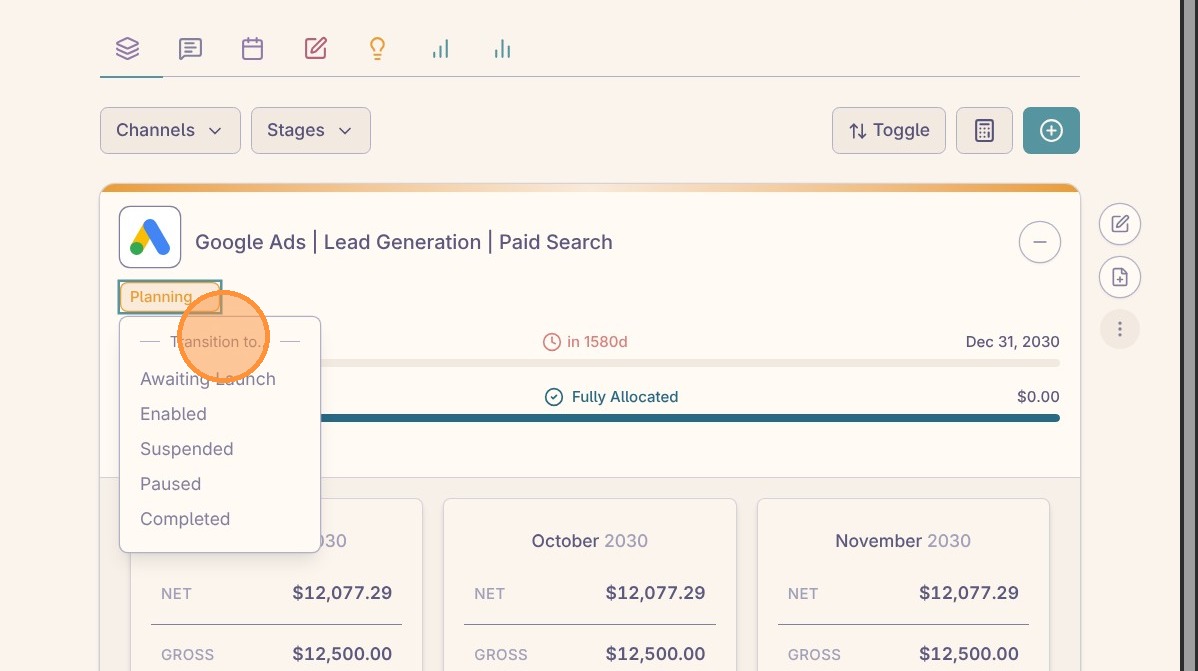
Most placement fields can be edited only while the media plan is in an editable workflow stage. The placement Stage dropdown is the exception: you can update it independently when your role permits it.